Service Manager
Displaying a URL or HTML Content in a Workspace
•About Displaying a URL or HTML Content in a Workspace
•Adding a Workspace that Displays a URL
•Adding a Workspace that Displays HTML Content
About Displaying a URL or HTML Content in a Workspace
You can now add a workspace to Service Manager that always displays the contents of a URL. For example, you may want to show information from a monitoring application directly on your dashboard.
You can also add a workspace to Service Manager that always displays certain HTML content. For example, you may want to create a nice landing page for end users to see when opening your application.
Adding a Workspace that Displays a URL
Follow these steps to add a workspace that displays a URL:
1.From the Configuration Console, click Configure > Users and Permissions > Roles and Permissions.
2.Select a role from the Role Name column. The application displays the Role Details page.
3.Click Top Level Tabs. The application displays the Top Level Tabs page.
To create a workspace in the Service Manager Application for a role, you create a new top-level tab in the Configuration Console for that role.
4.Click Add New Tab. The application displays the Add New Tab page.
5.Click Url Workspace. The application displays the New Tab Details page.
6.Enter information into the fields:
•In the Name field, enter a name for this tab. This is the name of the new workspace.
•Ensure that Use Url address is checked.
•In the Url field, click not set and enter a valid URL. You must enter either HTTP or HTTPS.
Make sure that you enter a valid URL in the Url field. If you enter a URL that is not valid and click Preview, the application displays a blank page. If you configure a URL without SSL (simple HTTP), Chrome displays an unsafe script message. If you select that badge and allow unsafe scripts, you can display the page. Other browsers may display an error message.
7.Click Add This Tab.
8.Click Save.
9.To verify that the application displays the new tab, do the following:
| a. | Log into the Service Desk Console. |
| b. | Open the workspace that you just created. |
| c. | Verify that the content displays correctly. |
Workspace That Displays a URL
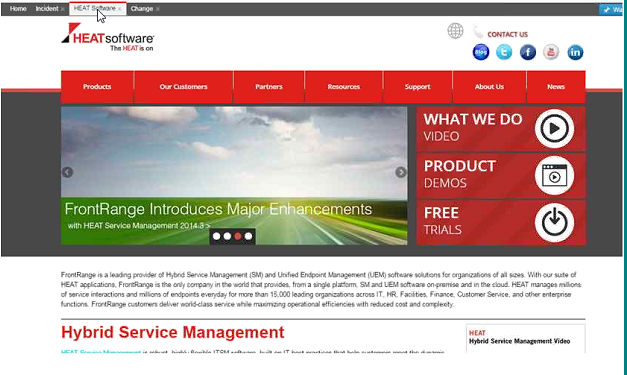
If the application cannot display the external URL that you entered, it displays an empty page.
Adding a Workspace that Displays HTML Content
Follow these steps to add a workspace that displays a URL:
1.Log into the Service Desk Console.
2.Open the URL Workspace Content workspace.
3.Click New Frs_data_workspace. The application displays a blank form.
4.In the Name field, enter a name for this HTML content.
5.In the Details field, enter the HTML to display in the new workspace. For example, you can copy the HTML from a web page and paste it into the Details field.
You can also paste images into the HTML; however, each image must be 3 MB or smaller. Larger images may crash the application and affect performance.
6.Click Save.
7.From the Configuration Console, click Configure > Users and Permissions > Roles and Permissions.
8.Select a role from the Role Name column. The application displays the Role Details page.
9.Click Top Level Tabs. The application displays the Top Level Tabs page.
To create a workspace in the Service Manager Application for a role, you create a new top-level tab in the Configuration Console for that role.
10.Click Add New Tab. The application displays the Add New Tab page.
11.Click Url Workspace. The application displays the New Tab Details page.
12.Enter information into the fields:
•In the Name field, enter a name for this tab. This is the name of the new workspace.
•Uncheck Use Url address.
•In the Data Name field, click not set. From the drop-down list, select the name of the HTML content that you created in step 4.
•If you provided translated content for this HTML, click a language to see a preview of the translated content. See Translating HTML Content for information about translating the HTML content.
13.Click Add This Tab.
14.Click Save. The application displays all of the top-level tabs for this workspace.
15.To verify that the application displays the new tab, do the following:
| a. | Log into the Service Desk Console. |
| b. | Open the workspace that you just created. |
| c. | Verify that the content displays correctly. |
Workspace That Displays HTML Content
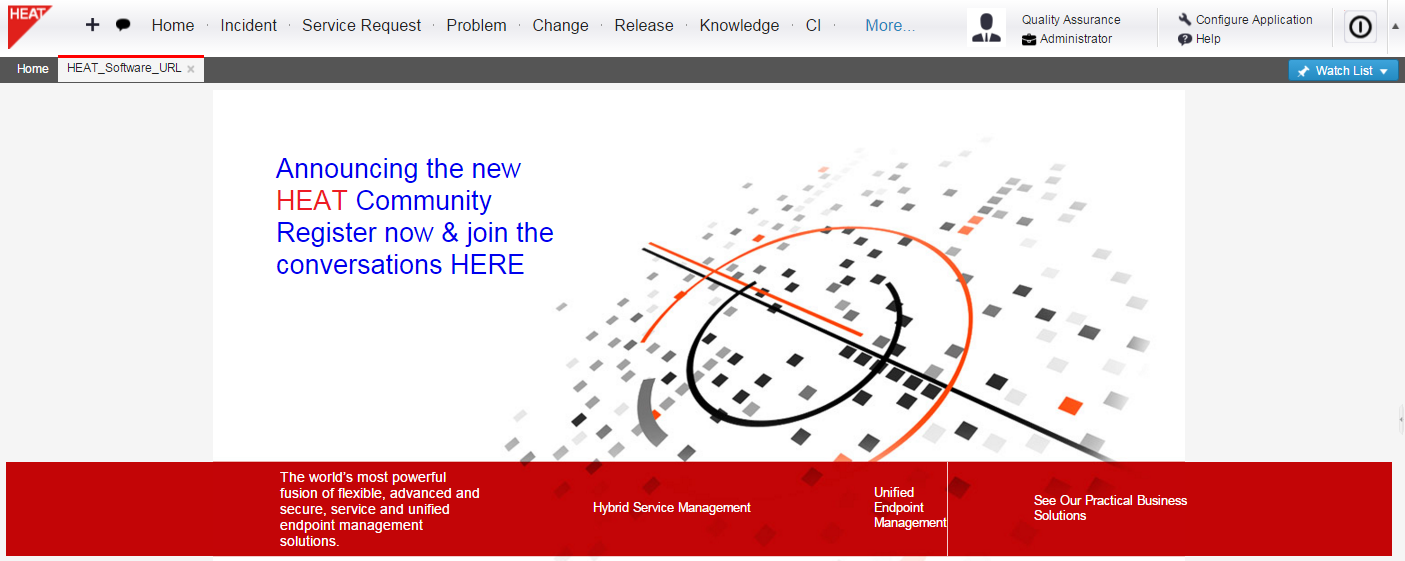
After you add HTML content to a workspace, you can also translate that content into different languages. See Translating HTML Content for information.
Was this article useful?
Copyright © 2019, Ivanti. All rights reserved.